Introduction
Before you can start creating mailboxes with Mango Mail, you’ll need to set up the proper Domain Name System (DNS) records. This article will focus on configuring your domain using Route 53 (AWS) nameservers.
Prerequisites
- Create and set up your Mango Mail account.
- Own a domain.
- Use Route 53 (AWS) as your nameservers.
- Add your domain through the Mango Dashboard.
Step 1. Go to the AWS console and open the search bar.

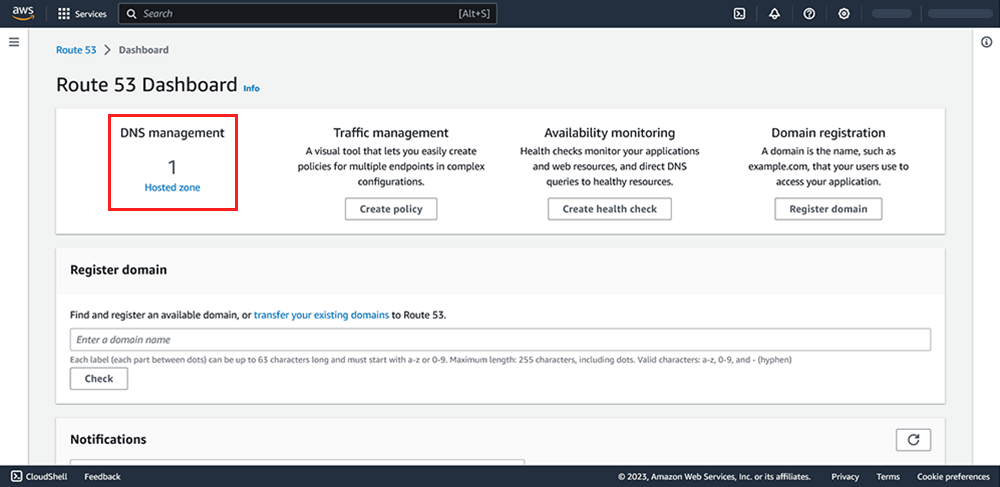
Step 2. Search and click on "Route 53".

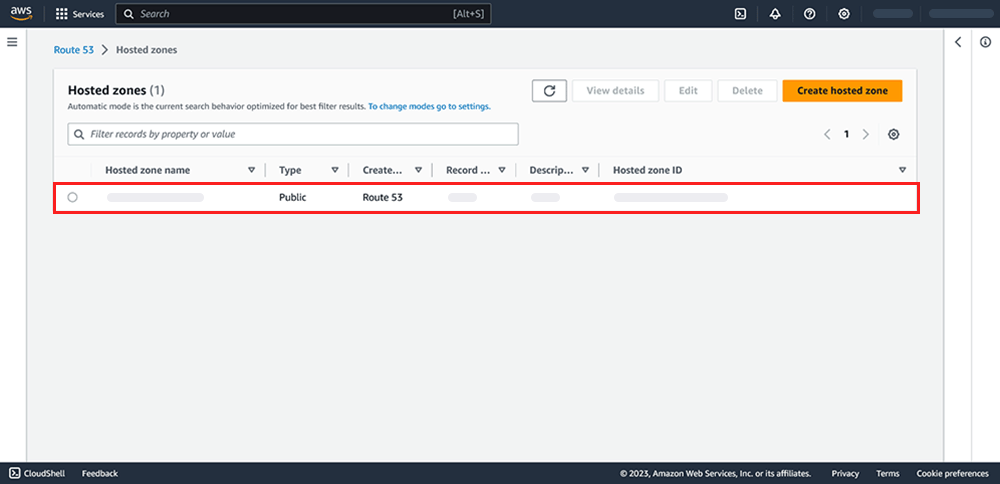
Step 3. Click on "Hosted zone".

Step 4. Click on your domain.

Step 5. Click "Create record".

Step 6. Use the "Quick create record" panel to create records.

Route 53 only allows one TXT record per host. This means you must write all TXT records in the same entry separated by line breaks.
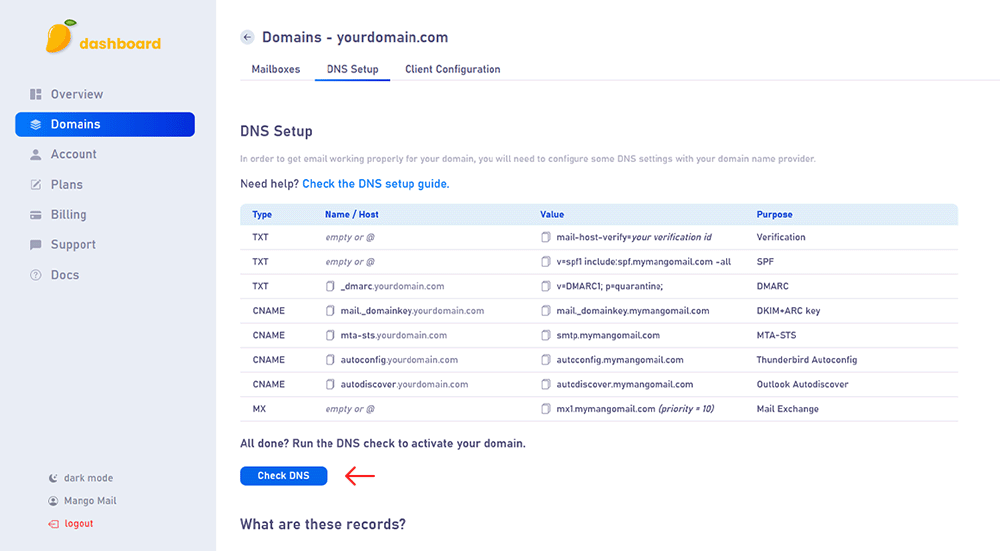
Step 7. Create the records shown on the DNS Setup page of your Mango Mail dashboard.

Step 8. Finally, return to the Mango Dashboard and click "Check DNS".

Next Steps
Now that you've finished configuring your domain's DNS, you can start creating mailboxes from the Mango dashboard.


